
Where do you need better visibility?

Choose your sector. These examples show how MVH can assess a visual task, which equipment you can compare and how to check an improvement.

Link to share

Industry and logistics

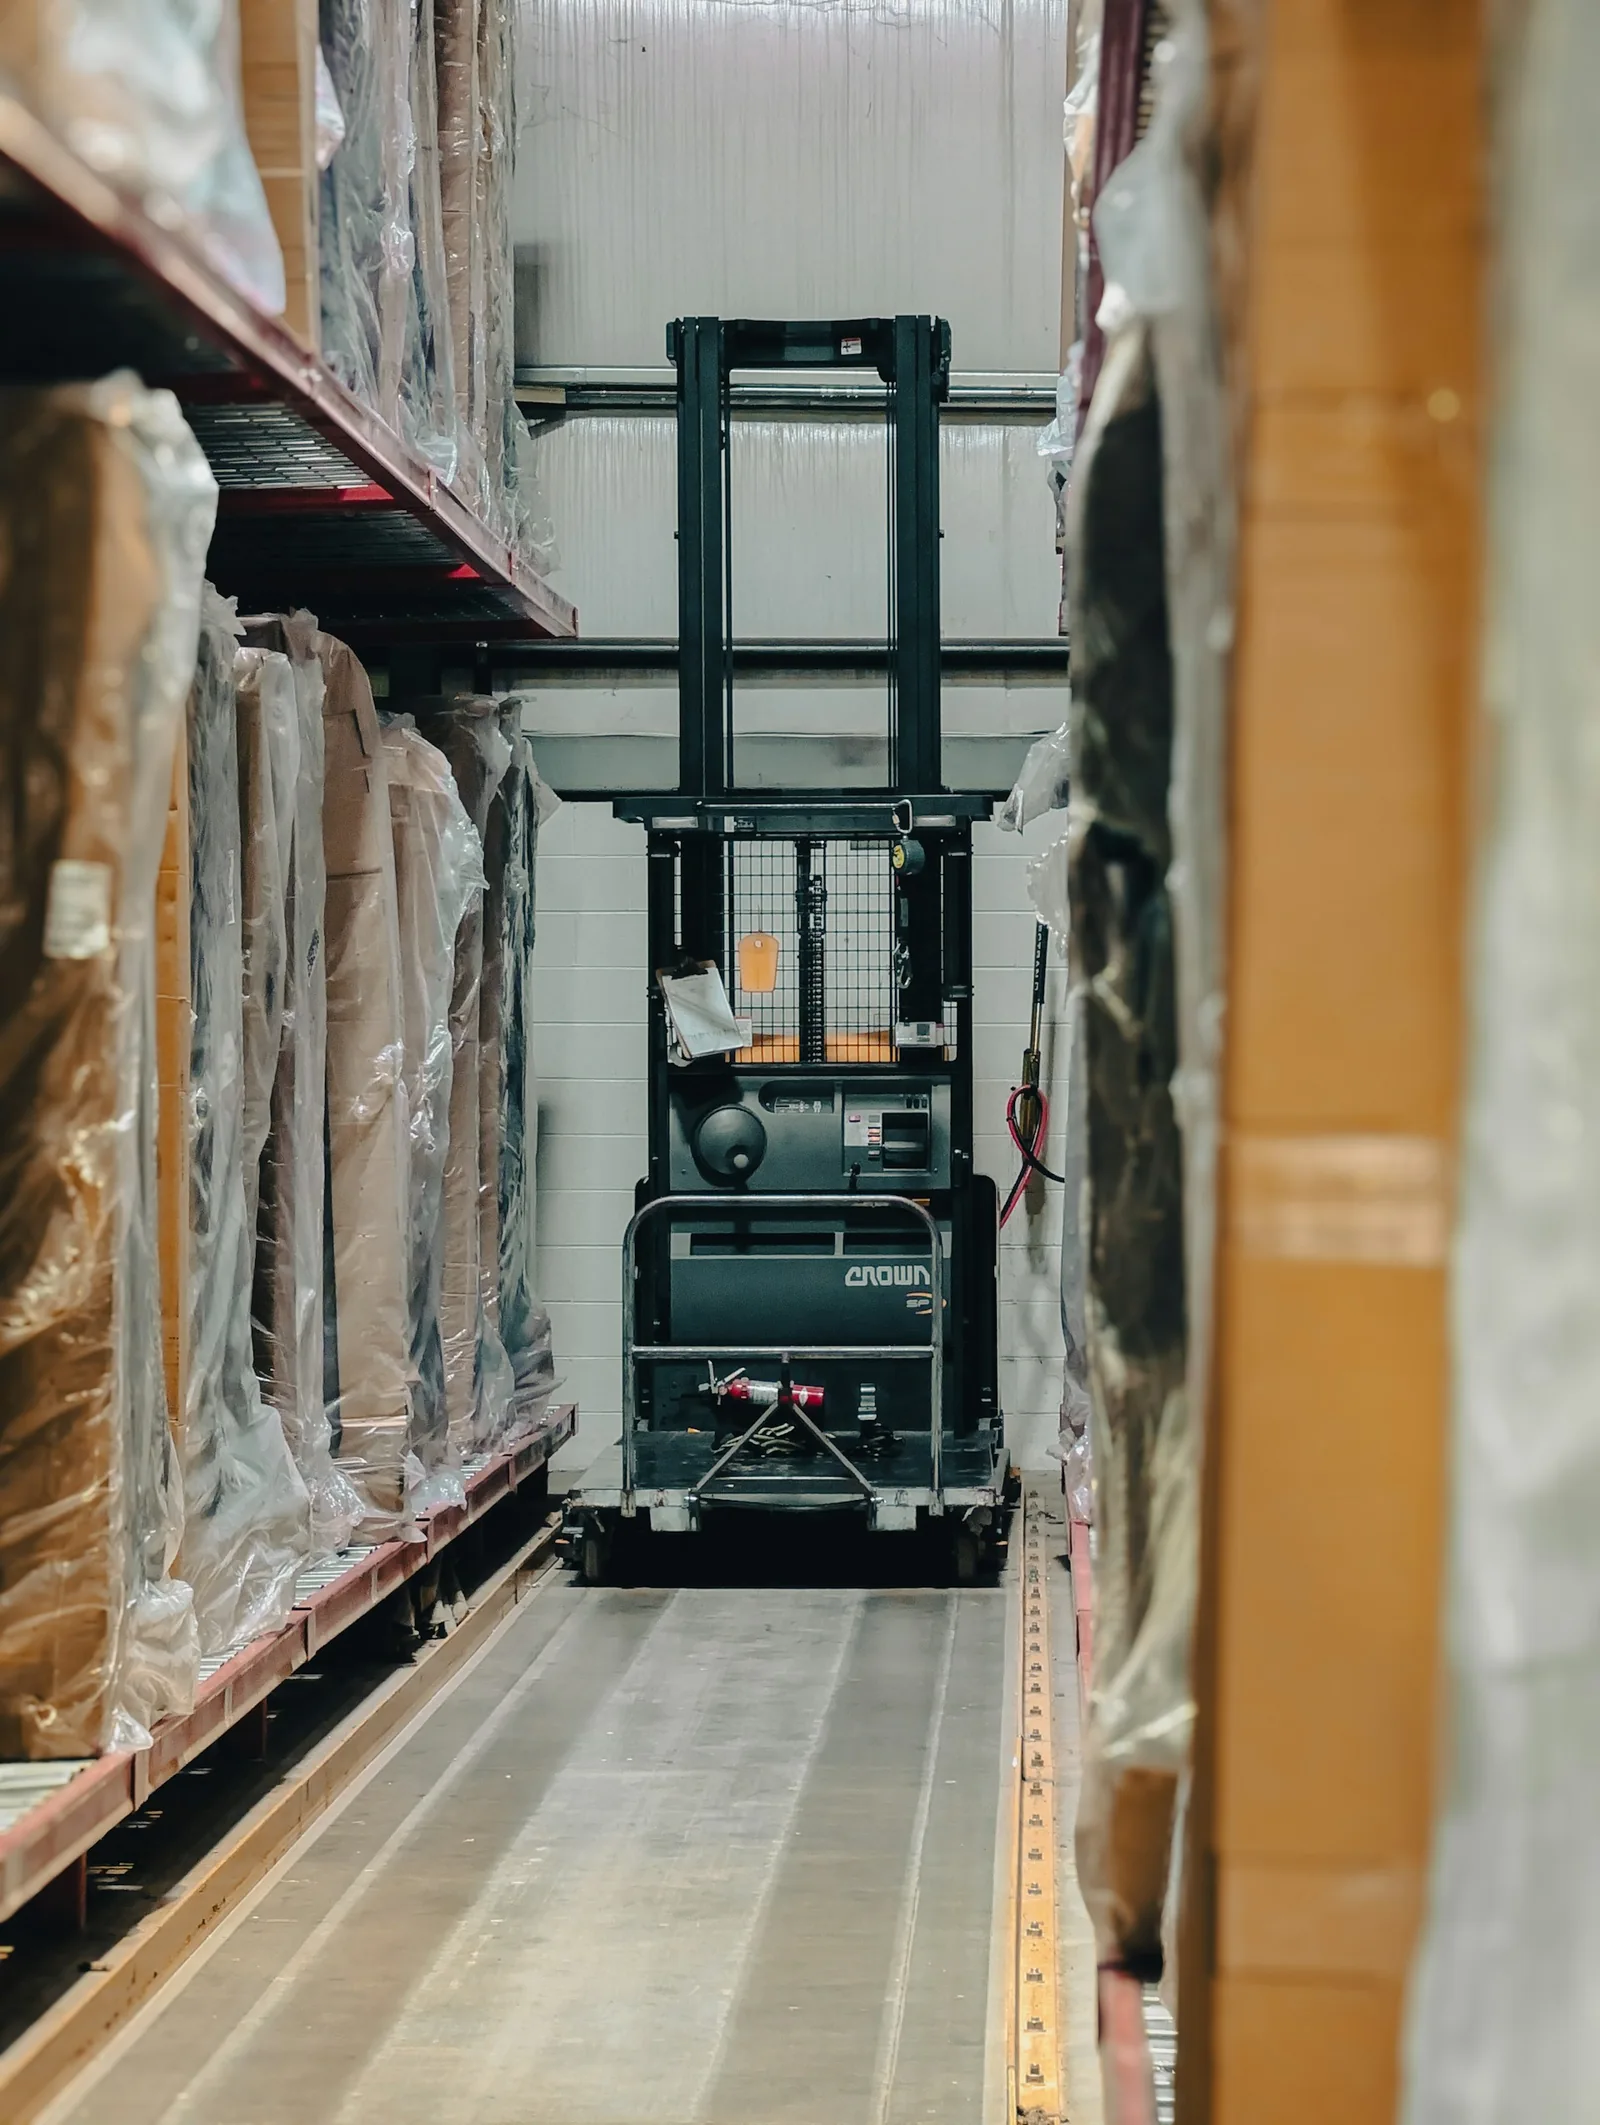
Read a label on a high shelf or spot a defect on a part.

Where would you place a light meter to assess a label?

On the plane in which the label is read. If it is on the front of a rack, a floor measurement answers a different question. The worker can also cast a shadow over the label.

What MVH assesses

We start at the worker’s viewing position. We measure light on the label or part and examine shadows cast by racks and tools.

What you can expect

A map of the measured workstations and aiming, mounting or layout options that can be checked at the same workstation.

Discuss my project →

Explore equipment by task

Read labels on racks
See a mark on a part at a workbench

For a dry indoor bench, compare two 24 V strips that can be installed in a profile. View the part from the working position and try different light directions before choosing the mounting arrangement.

Inspect parts on a production line

Describe the defect and surface finish. A reflection can hide the detail even when enough light reaches the workstation.

Read controls in a hot process hall
Read a marking at an outdoor loading point

Mark the point the operator needs to see. Compare beam coverage at that distance and check whether light reaches the driver’s line of sight.

Read a valve in a hazardous area

Check the viewing angle and the shadow from the valve body. Match the variant nameplate and certificate to the area classification before specifying it.

Distinguish steps on a hazardous-area walkway

Check shadows cast by the handrail and visibility of step edges. For the 40 W linear model, request the nameplate and certificate schedule to clarify its IP rating.

See a covered loading area in a hazardous location

Mark the positions of the driver and the person guiding the load. Compare mounting points and check the Ex marking and certificate scope for the offered variant.

See a crossing on a hazardous-area plant road

Locate the crossing, poles and viewing positions. Check the photometry and configuration certificate against the classification of that road.

Recognise the exit on a hazardous-area escape route

Check where the arrow is visible and which pictogram the project requires. Request the runtime for the configuration and the certificate schedule clarifying the gas group.
Ports and vessels

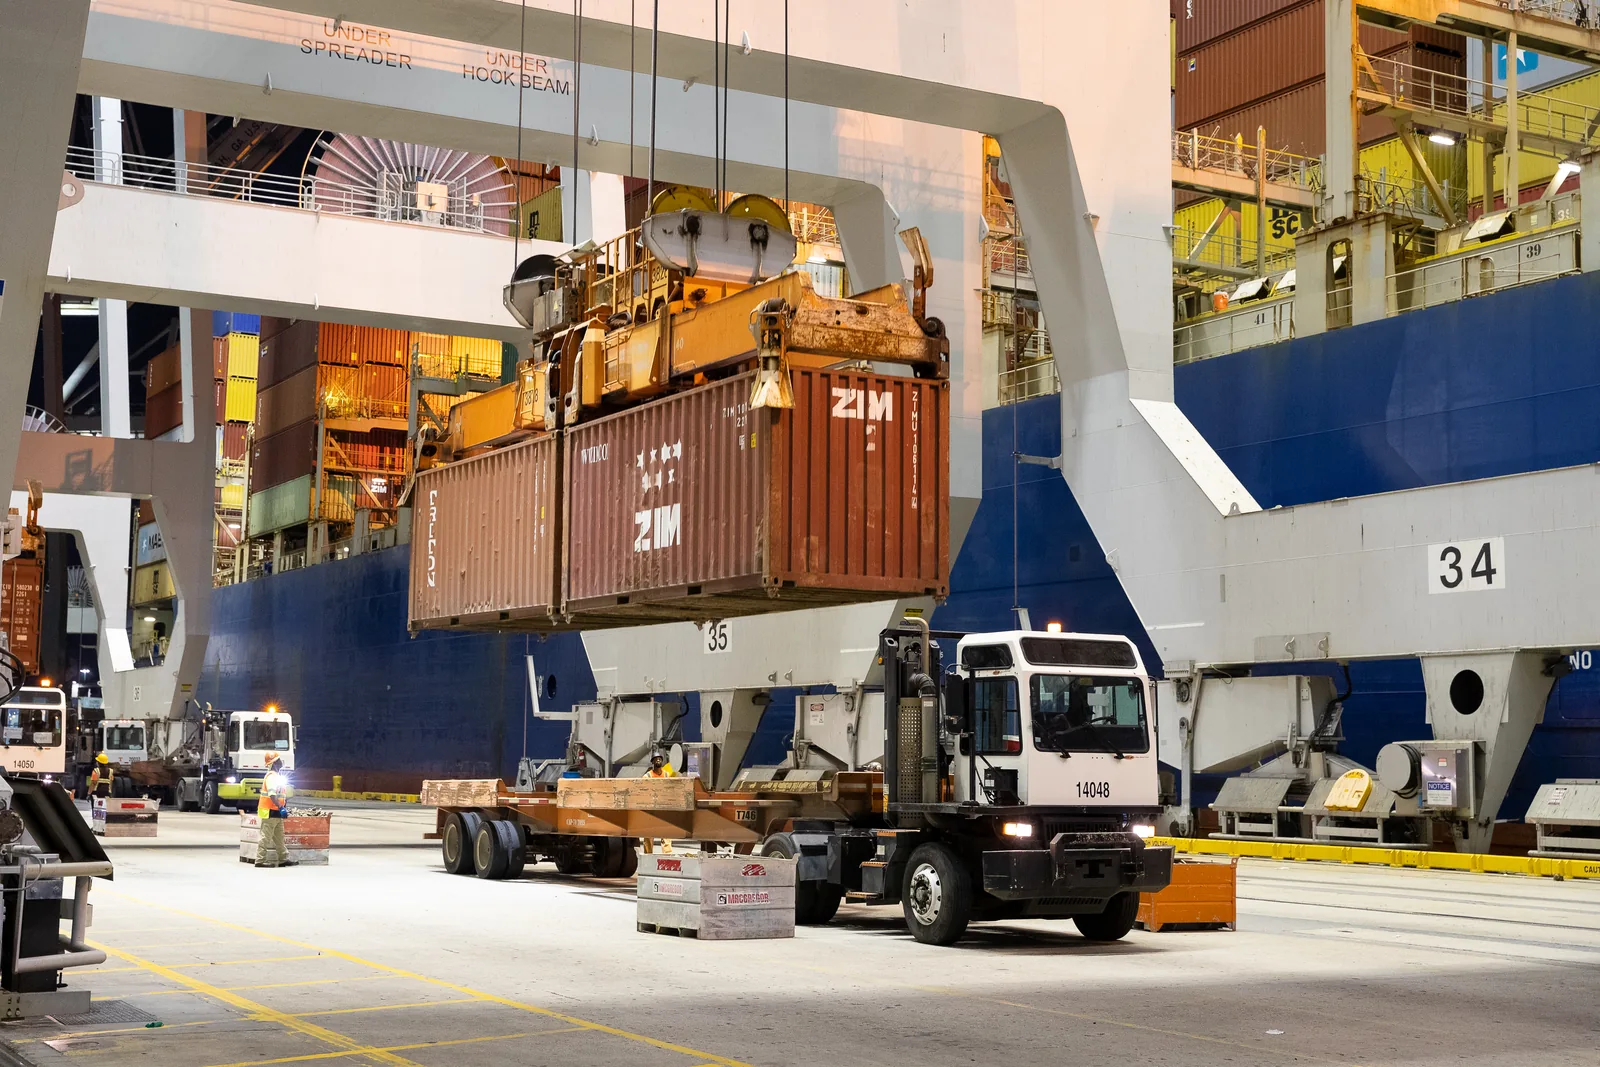
See a line on deck or follow a night manoeuvre from the cab.

Why assess the view from the cab?

A floodlight can light the quay well yet reflect in the glass in front of the operator. Check what the person actually sees during the manoeuvre.

What MVH assesses

On the quay or deck, we examine the manoeuvre from the operator’s position. We check shadows on lines and equipment, reflections in glazing and floodlight aiming.

What you can expect

A proposal for lighting the working area. For navigation lights we assess the signal function and equipment documentation separately.

Explore port and vessel services →

Explore equipment by task

Follow a manoeuvre on the quay

Compare two floodlight optics. Selection requires the distance to the operating area, mounting height and the sightline from the cab.

See lines and loads on deck

Identify the mooring or loading area, bracket height and crew position to determine where to aim the light.

Aim a searchlight from a vessel
Track vehicles in a yard lit from a high mast

At the same distance, 15° and 60° optics cover different areas. Mark vehicle routes on the plan and check the distribution with each model’s photometric file.

Identify the starboard side of a vessel

To assess this green sidelight, provide the vessel type, length, mounting position and flag. Request type approval and check the scope for this vessel.

Public lighting and mobility

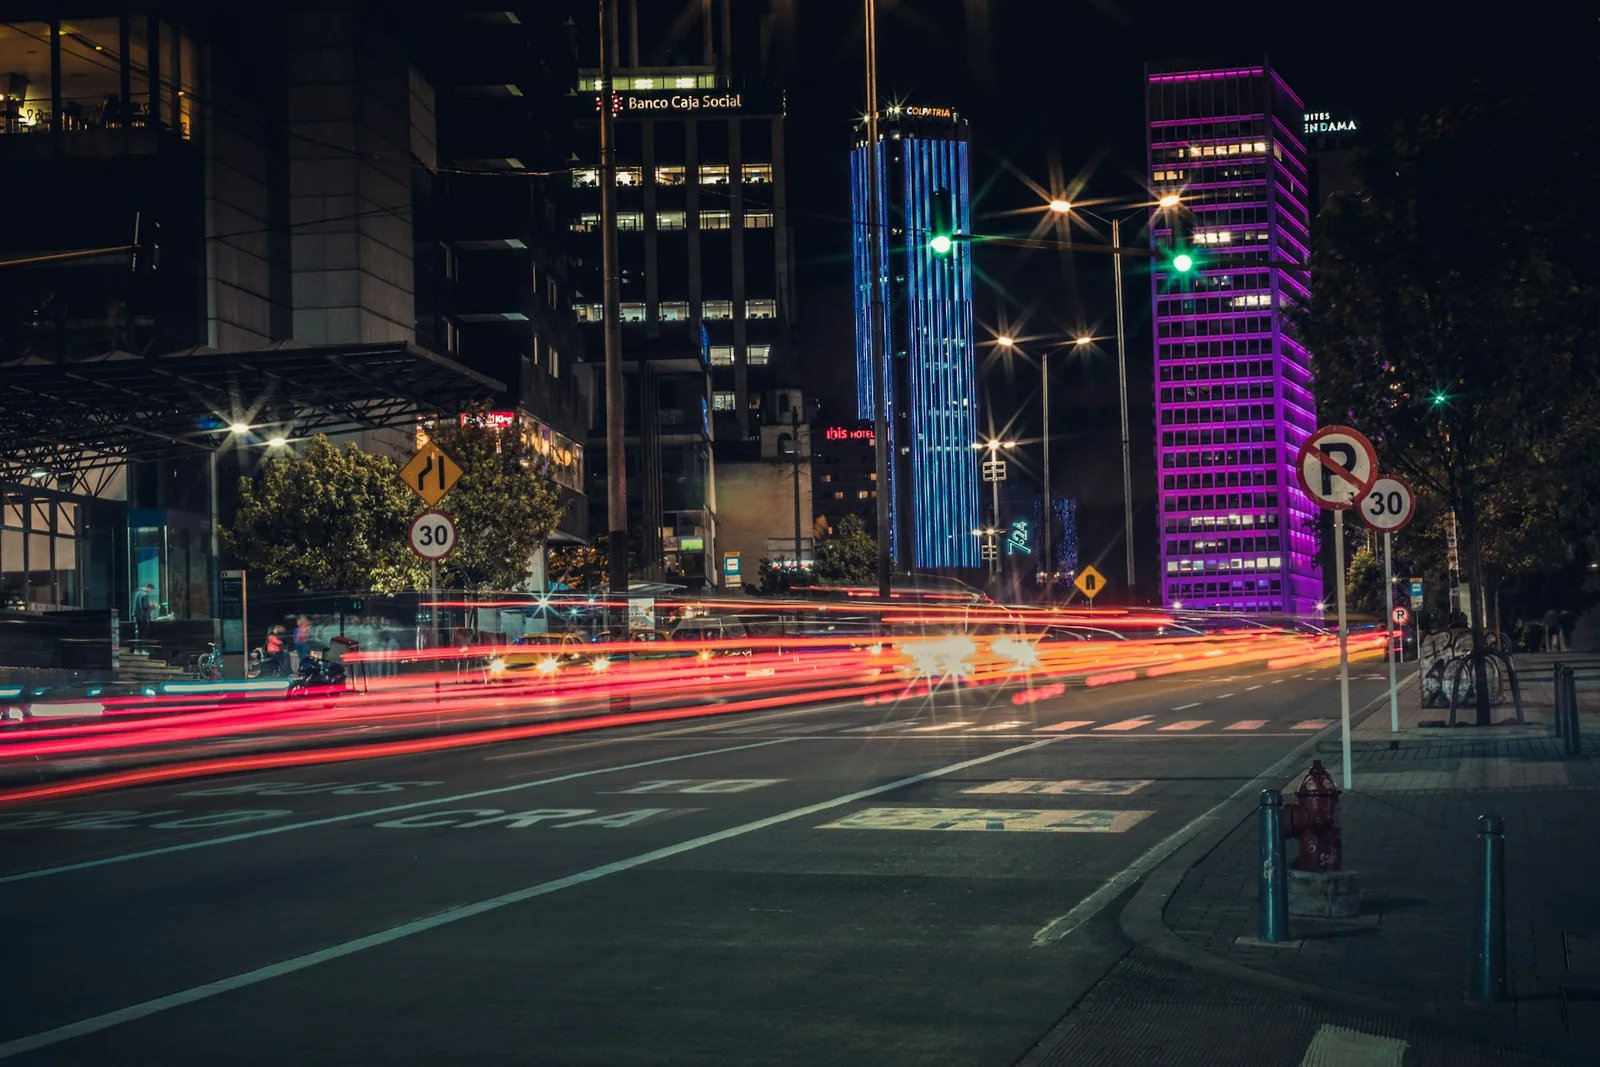
Spot a change in pavement level or see a pedestrian about to cross.

Why check a crossing in both directions?

The background and the position of light sources in the field of view change with direction. Observe the pedestrian from each approach.

What MVH assesses

We follow the route through crossings, access points and changes of level. We check lighting continuity and glare from pedestrian and driver viewpoints.

What you can expect

A plan identifying points of concern and optics or placement alternatives for prioritising work by section.

Discuss my project →

Explore equipment by task

See a pedestrian at a crossing

View the pedestrian from each direction of travel. To assess these two luminaires, request the photometric file for the proposed optic and check how light reaches the pedestrian with the planned pole locations.

Light an access road
Light a traffic strip from a high mast

Compare Type II 50° × 140° and Type III 40° × 140° optics. Both models list 495 W input. Assess their photometric files against the mast position and width of the strip.

Agribusiness and rural production

Sort produce at a grading table or read an instrument on the early shift.

What MVH assesses

We examine the product where it is sorted and check how the light changes between daytime and night shifts.

What you can expect

Lighting criteria for sorting, packing and worker circulation based on the project’s tasks and environment.

Discuss my project →

Explore equipment by task

Sort and pack produce

Tell us which feature the worker needs to see at the table and how conditions change between shifts. Include mounting height and cleaning conditions.

See unloading in a receiving yard

For a compact unloading area, compare the 85° × 45° and 85° × 135° distributions. Mark driver and pedestrian positions before aiming the floodlights.

Other work environments

Retail and displays

See an item’s texture, read its label and distinguish it from the background. Optics selection depends on where the customer stands at the counter.

Explore equipment by task

Highlight an item on a display counter
Read labels under a display shelf

Measure the space for the profile. Compare supply voltage and lumens per metre, then view the label from the customer’s position to check reflections.

See a display outline from several sides

Sketch the bends and mark the visible sides. Compare the profile cross-section with the available space and confirm the minimum bend radius for each configuration.

See texture on a curved display wall

Identify the plane of the curve. Test the wall washer setback and check shadows, continuity and texture along the visitor’s route.

Distinguish display zones with coloured light

Define the colour zones and strip layout. To size the power supply, request the total draw for the intended RGBW mix and the current per channel.

Read signs after retrofitting an existing fixture

Before assessing sign legibility, confirm the 2G11 lampholder, available length and fixture wiring. Compare the light on the sign after the retrofit.

Reposition lighting points when a display changes

This track is a mounting accessory. Request the dimensional drawing and confirm head, adapter and supply compatibility for the planned layout.

Do you work in healthcare, laboratories, construction or another sector? Describe the detail someone needs to see, who does the task and when the difficulty occurs.